With that said, my role in the group is environment artist. I am one of two who will be constructing the world space. My more specific role is to create the open world landscape the players will be adventuring in. So my first step is to make the landmass.
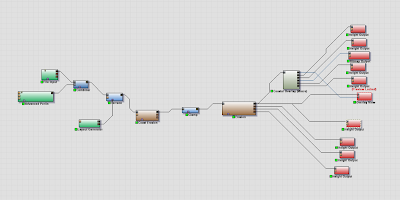
This is something I've never tried before, previously I would just model the landscape in either Maya or Unity's own terrain editor. This is fine for small areas, but we needed much bigger world spaces. I decided to learn to use World Machine, as it would give me the creative freedom to sculpt a believable landscape as well as speeding up the whole workflow I was previously using.
To start with I needed a heightmap to get started in World Machine, something that would give a good base to build upon. Using Mudbox, I quickly sculpted the basics of the landscape I'd envisioned. Making sure to keep the brush parameters within the y-axis, I used a combination of the scrape brush and a rocky mask to create the cliffs and hillsides.
With the heightmap exported straight from Mudbox I swiftly moved into World Machine to start refining the natural look of the land. The lower areas around the cliffs was to become the ocean, as such I wanted to create a lot of erosion along the coastline. I added more subtle erosion and terracing around the cliffs and hillsides to show the natural shifting of sediment. To finish the scenery, I used an advanced perlin to randomise the terrain somewhat, making it appear less uniform.
Happy with the overall landscaping, I used a coastal overlay macro to add colour and depth to the terrain, this macro is also what I'll be using to export the various maps I'll need to create the terrain's colour map.
There were lot of maps I needed, these included masks for various textures, flow maps, light map, ambient occlusion, etc. I needed the final heightmap also, the net step is to go back into Mudbox to refine and add more detail to the rock faces.
All the extra maps I exported in World Machine were compiled into the same Photoshop image to create the colour map for the terrain. Using the masks and flow maps, I edited the hue and saturation of each element. The initial map was very lacklustre, it had little definition of the rock faces, the ambient occlusion and light map were too bland, the map just wasn't good enough.
I imported the heightmap, exported earlier from World Machine, back into Mudbox for the final touches. After refining the cliffs and rock faces, I used Mudbox map exporter to create better a ambient occlusion map, as well as a cavity map, normal map and highlights map, Mudbox is a great tool for these maps, I've found the definition on its exports much better than other software. This was the result after applying and playing with the new maps.
Here the colour map is applied to the mesh in Mudbox, I continued to sculpt some more detail into the landscape before exporting the final height map and normal map.
With both the height, normal and colour maps completed, I needed to create the splat map. The splat map uses ARGB to dictate where the various textures maps will go and how they blend. Using the previously exported masks and Photoshop, I placed each mask in a different RGB channel. Having only three textures, I left the alpha channel blank.
Unity seems to have trouble with heightmaps, it took many attempts before the terrain imported correctly. It recognises the .raw file type, and after using Photoshop to export the height map as the correct file extension, the data was seemingly to be corrupt. Unity didn't seem to recognise the .raw16 extension that I was using to get a 16bit height map as opposed to an 8bit one. It neither recognised .pgm or .tif either, both of which were recommended online. In the end I had to settle with importing an 8bit height map.
Using a Unity plugin called "ATS Color Map Ultra", I placed each of the various maps in the correct slots, then edited the values until I was satisfied with the results. At this stage I'm using placeholder textures I found on CGTextures.com, I'll later create my own.
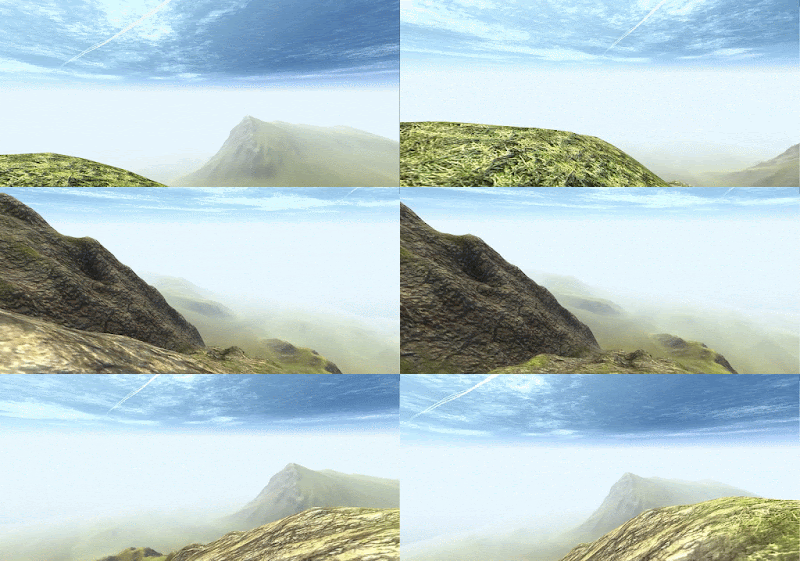
Using Unity's own water shader, I added a placeholder ocean. Lastly I messed with the lighting, fog and shadows to finalise the look. These parameters are likely to change though, as I populate the landscape with foliage and structures.


No comments:
Post a Comment