Wednesday, 27 April 2016

Completed Scene

With the final touches complete the scene was finished. I added sound affects for the tank, wind and rustling trees. The smoke billowing out of the vents was created using Unity's particle system, and I also added some lighting for the headlight and rear ligthts.

When the scene is loaded it plays a cut-scene of the camera orbiting the tank then stopping as it gets to the camp, after which, allowing the player to move around the scene.


I would have liked to add more to the scene, a ravaged city-scape  in the background and other vehicle wrecks would have given more of a background to the tank and overall project. Also I would have make the tank look more post-apocalyptic by adding a lot more metal panelling, but I should have decided that earlier in the project so I could model it in that way.

Finishing Touches

This is the final camp in the scene, the campfire, like the rock, was originally made for another project, as it fit with the subject it is now present in this scene also.
As previously stated with the rock, I used it to create formations by placing them against each other and around the ground. By placing them this way it doesn't look like the same rock and avoids a repeating formation.
Each sign is simply a sprite with a different material. It made it much easier for placement and avoid me having to create separate models for each sign.
After attempting to use Maya's nCloth to animate the tent, I simply used Unity's in-engine cloth. After setting some anchor points it reacts to the windzone in scene effectively.

Foliage, Rocks and Signs


This is a rock I modeled way back for my group game project. To help is fit with this new scene, I lightened the rock somewhat and tinted it brown so it stood out among the snow better. On each end of the rock I coated snow, this is because the rock will be used multiple times in both directions.
The current ground in the scene was fairly sparse, it needed some foliage. I quickly created some blades of grass, then arranged them to look like clumps of grass. Then I baked them through Maya using a diffuse transfer map. I then used the smaller clumps to form a bush as seen above and some larger areas of grass as seen below. 
The grass in the scene used Unity's terrain to react to the wind and animate, whereas the bushes used a shader I created to appear as though there is wind.
These footprints are simple sprites that I placed leading from the tank to the camp. Below are the signs I textured for placement on the tank. I made it a sprite sheet in Unity, and simply changed the material so it was affected by the light in the scene.

Extra Objects

The sides of my tank were looking some-what bare. I decided to make some crates that would carry jerrycans for fuel. I need these objects as low-poly as possible so not to affect the overall performance of the scene. On this crate, I made sure to cut the UVs in such a way that I can create wooden beams that flow the correct way. I added some snow as a final touch to fit with the scene.

Like the crate, the jerrycan needed to be as low-poly, I was also short on time and couldn't model in ZBrush, so after the low poly was finished I moved it into Quixel to create some quick normals. The design on the side is what I came up with, I added snow across the top and some oil prints along the sides where it has been handled.

Top break up the shape of the repeating wheel arches I decided to have a set of log running down one side. Old Russian tanks used to have these log to assist in getting out of mud, snow or any hazardous ground when stuck. Like the jerrycan, after the low-poly was finished I moved it straight to Quixel. Using an image of pine bark I create a sufficient normal map, and used Quixels leather texture for the straps.

The final object I wanted in the scene was a camping tent, something old and beaten-up looking. With an animation, it will help portray the heavy winds and blizzard. Using a simple fabric, mud and snow texture it was good enough to be used.

Trees

For the scene my tank is going to be snow themed. As such I needed a tree to place around the environment. The above image is the first model I made, it wasn't good enough to be in the scene with the rest of the objects, it looked out of place. To create a better looking tree, I used SpeedTree for Unity. After making some snowy pines and bark I combined them with a regular pine texture to create whats seen below. SpeedTree also helped making a wind animation as well as slight variations. I create four levels of detail as well to help the frame-rate of the scene.

Wednesday, 16 March 2016

Quixel

After unwrapping each section of the tank model, I could now start the texturing. I began with the turret, I wanted the entire vehicle to be an olive drab, military colour, but have rust, bare metal and snow layered over the top. The mismatched pieces are rusted metal painted either red or white, this contrasts well with the rest of the tank whilst keeping consistant.
The sides of the turret are still quite bare and so will possibly add extra armour or clutter at a later stage.
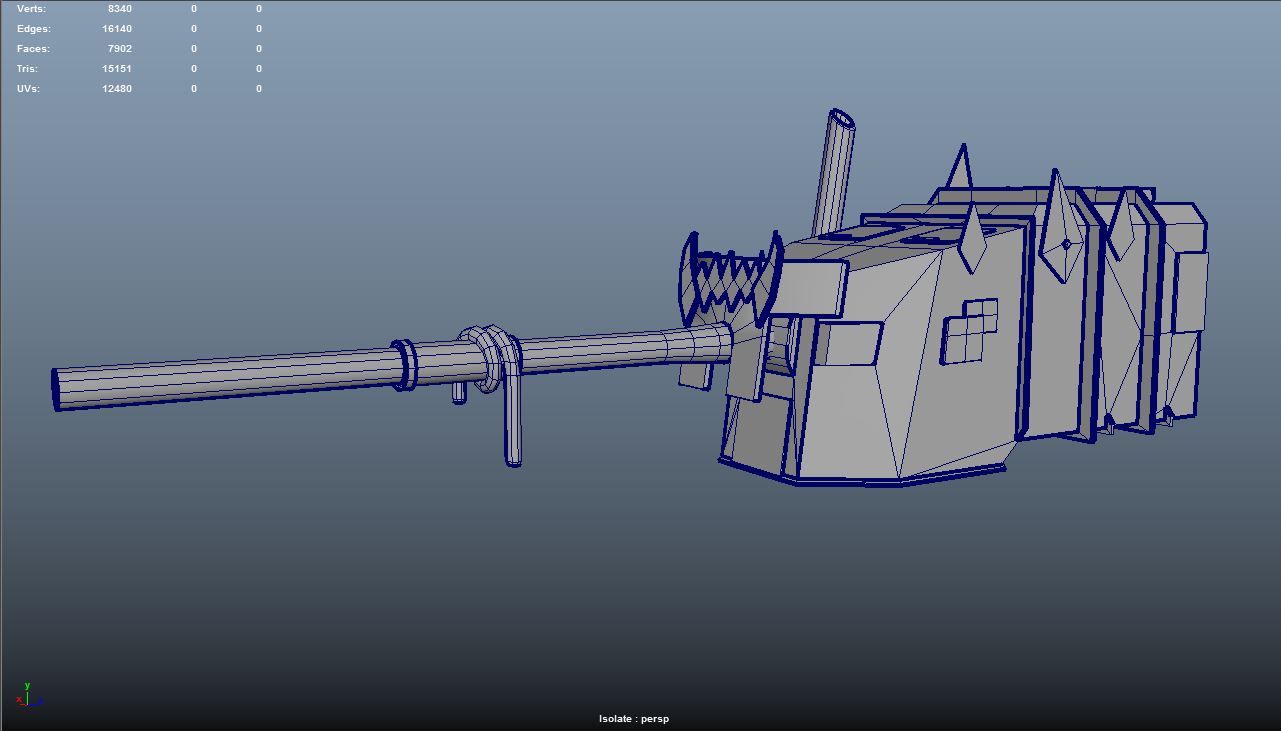
The gun barrel was fairly tricky due to the rope draped over the middle section, this was a long process in ZBrush to model, and using the base fabric texture in Quixel, I layered on a more 'rope-like' texture. There is a large emphasis on the battle damage over the gun mantlet to show its age and how strong its armour is.

The remain hull was a long texturing process. The high poly model had difficulty baking onto the lower poly, as such it required a lot of post editing of the normals and occlusion maps. The dark front panel is a couple of fans, the actual piece is completely flat, but because the fans are meant to be seen behind a grate the normals create a good illusion.
The skulls on the rebar were modeled and textured separately. I later wanted to add some road signs to the posts to add some colour to the model.

Low Poly Models

The final low poly turret is now completed, it had a few minor changes from the original model I made at the start, most notably is the addition of the spiky metal pieces jutting out the top. This was heavy influenced by the Orks for the my reference images. The make-shift gun mantlet was given a more appealing shape and the iron sights were removed.
                                          
This is the completed main hull of the tank, it took many iteration to get the shape seen above. The front engine bay and headlights were especially difficult to model. Most of the bolted-on armour is a separate piece, this not only kept the poly-count lower but will also make it easier to model in ZBrush.
The final pieces to model were the wheels and suspension. Each wheel is the same model, but I have made two variants of hub-caps; a basic one with a spike and a 'kneecapper' style one. These hubcaps can be placed at random to make the model less repetitive. I didn't spend much time on the suspension due to it being mostly hidden, but it still needed a silhouette for when its being lit.

Here it is all together, the poly-count is as low as I could get it without losing too much detail. At about 15000 tris it gives enough detail to the areas that matter. If I could spare more time or redo the earlier modeling, I would have incorporated more scrap metal on the front, make it appear more armoured and weathered, as if it had been in many battles.